
In the Studio with…
Geri Huxsoll, Diamond State Branch
The Art of Lithography
By Lucy Arnold, Art Editor
Geri Huxsoll has a bachelor of fine arts degree in printmaking from the Maryland Institute, College of Art. She is currently a monitor for the printmaking studios at the Fleisher Art Memorial in Philadelphia, where she has studied lithography for over 20 years.
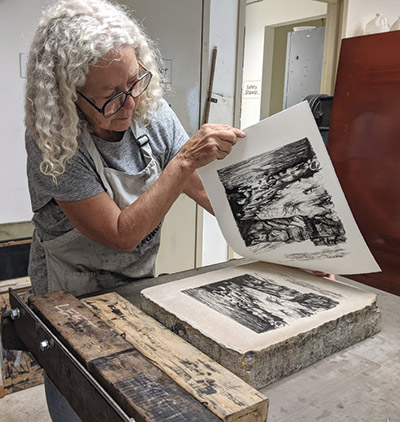
Huxsoll enjoys the physical labor of graining the stone, drawing on the stone, and printing. She finds satisfaction in pulling a print that resembles what is drawn, only richer and deeper. “Drawing, to me, is about relationships of tones and the beauty of the lines,” she says. “Lithography can be a complicated process and the results are not always as planned, but it is also an extremely engaging process, and the inked images are exciting and rewarding.”
The process of lithography involves drawing on a flat limestone with grease: either crayon, pencil, or a liquid called tusche. The surface of the stone is then chemically etched, creating a water/grease resist. When printing, water is applied to the stone and ink is rolled on to the surface. The water repels the ink where the stone is bare, and ink is accepted where the greasy drawing was applied.
Paper is placed onto the inked stone, which is then run through a press to create the image. The process of inking is repeated for each print in an edition. Each print is an original piece of art, numbered and signed by the artist. When the edition is complete, the surface of the stone is ground smooth to accept a new drawing.

Basic steps of lithography:
1. Grain the stone to create a grease-free surface.
2. Draw the image on the stone.
3. Etch the stone with a gum arabic/nitric solution.
4. Wash out the image with lithotine.
5. Ink the stone.
6. Place paper on the stone and cover with a greased tympan to protect it.
7. Take the stone through the press under a greased pressure bar.
8. Pull off the paper with the image.
9. Redo inking and printing steps to create the edition.